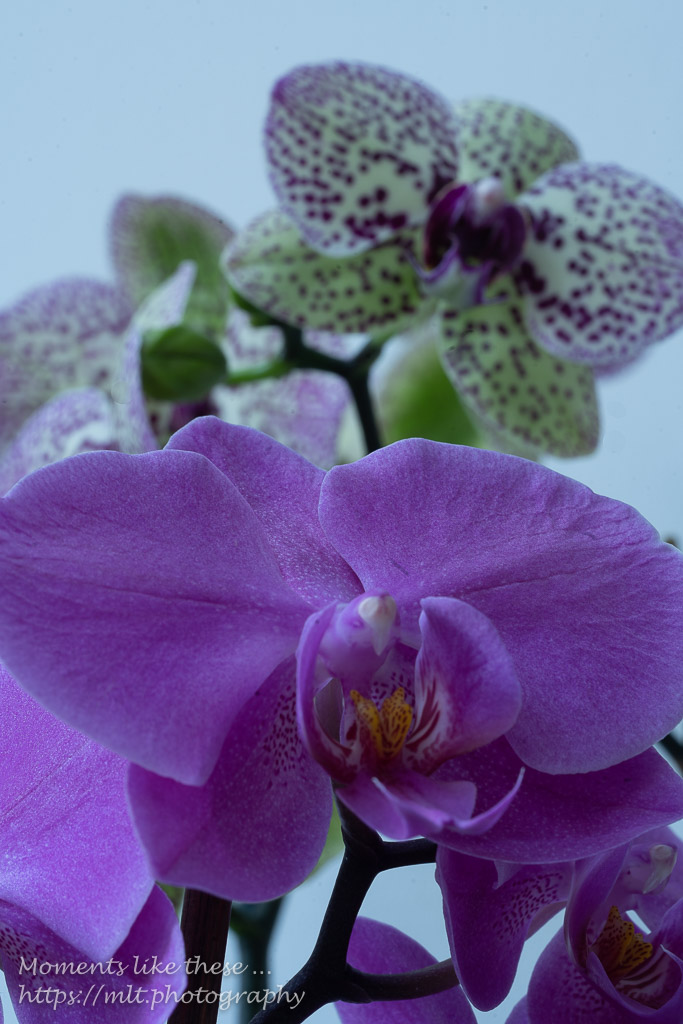
Volunteering to do a short spot on focus stacking at a u3a afternoon Photography session yesterday, I showed the following sequence of pictures of some orchids using a tripod and a macro lens …
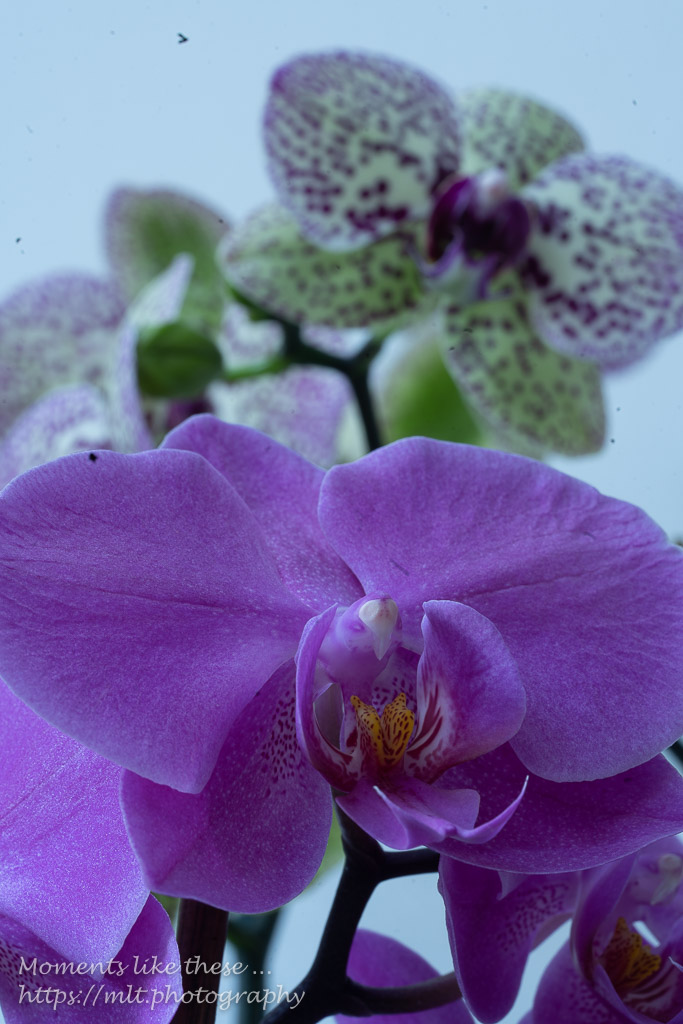

[Please note I didn’t edit the images prior to applying the software which I should have done. I could have removed the specs on the background wall, and on the lens and then synchronised the images prior to sending them to Photoshop.] I will explain the process and some of the other requirements for focus stacking at the bottom of this post.
I then did the focus stack in Photoshop, and returned the completed image back to Lightroom where I did the edits (spot removals, etc.) I should have done previously …
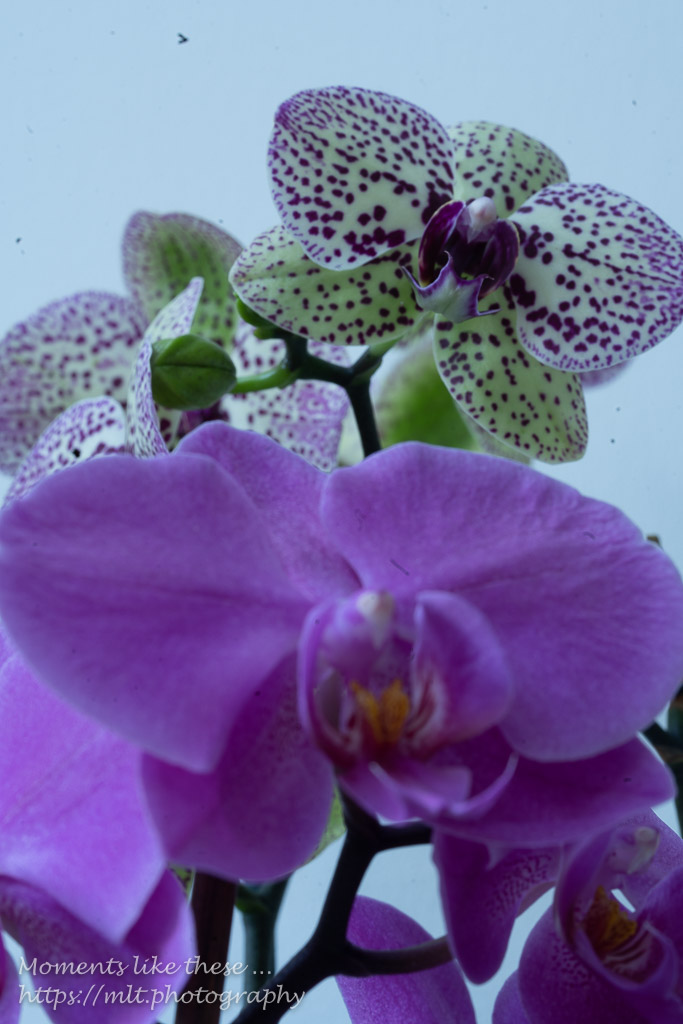
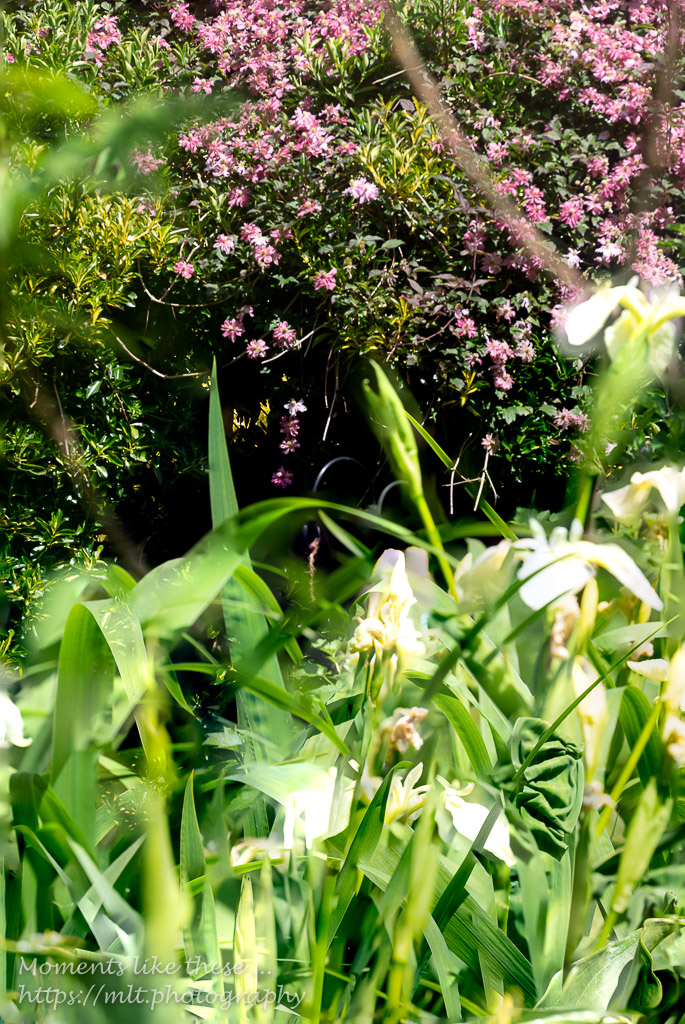
Just for comparison this is what the macro shot without focus stacking would have looked like …
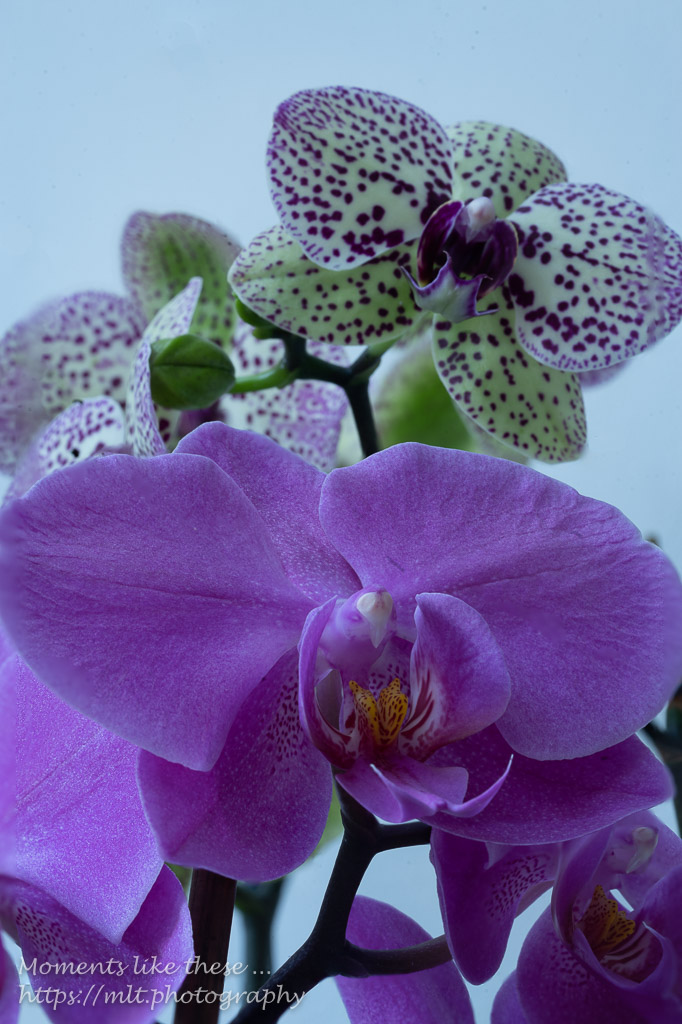
I hope you’ll agree the exercise was worthwhile, but I think if I was to do it again, I’d have taken a fourth shot focussing on the petal in the background.
The next exercise was to try focus stacking in a landscape shot. Here I’ve used a shot looking out from the Barrage towards Flat Holm and Steep Holm using two shots …

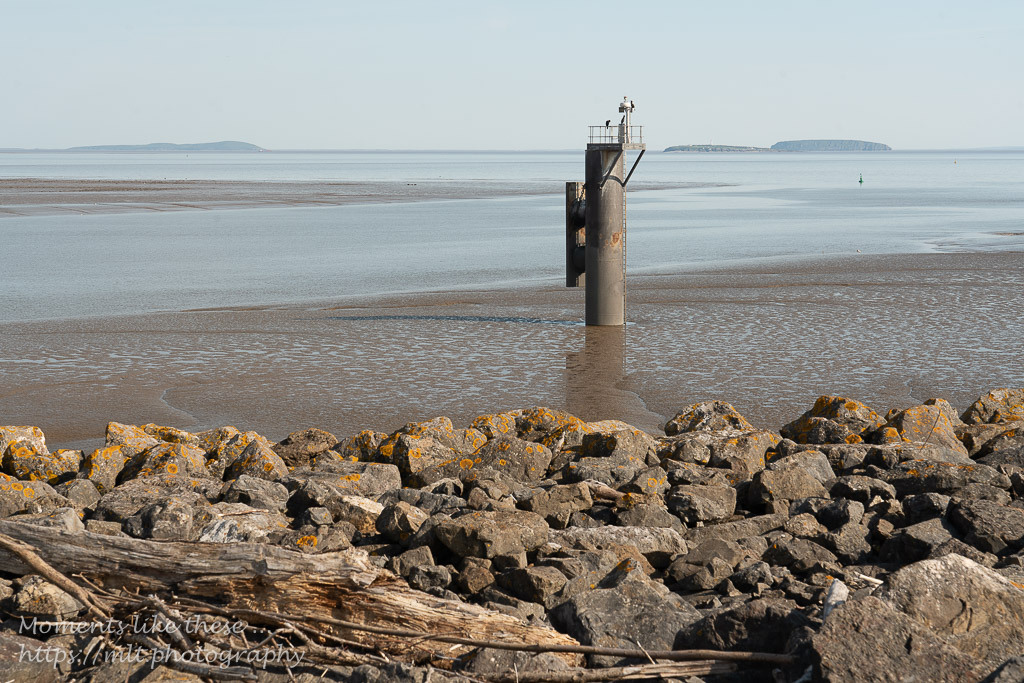
Here the one shot focussed on the driftwood, and the other on the lighthouse on Flat Holm. [Manual focussing with Flexible Spot mode was chosen for that.] Which when blended in Photoshop produced this …
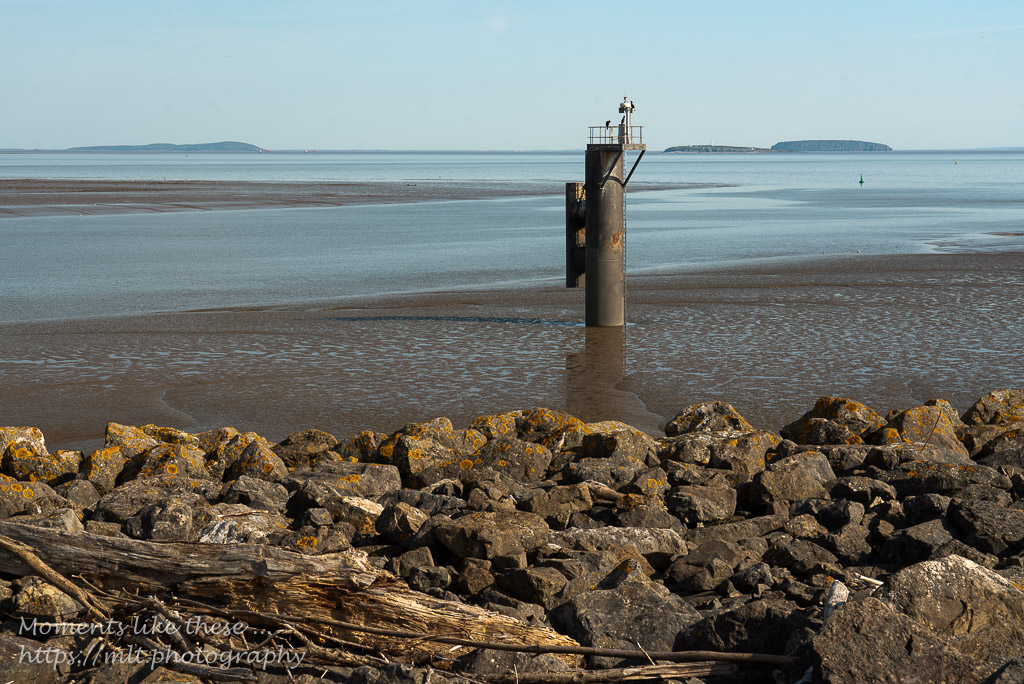
Try enlarging the shot of Flat Holm (or just look at the screengrab below) to see how effective the blending of two shots in Photoshop can be …

So what is focus stacking, and how do you do it? What do you need to bear in mind, and is it always necessary? Let’s start with the last point.
No. Focus stacking is not essential in landscape photography and there’s a few instances where it should not even be attempted. The following points should be considered …
- some cameras (but not mine – a Sony) have in camera Focus Stacking. This can be set to automatic so the focus point just moves up the view, multiple exposures (or impressions) are taken and one image is presented. You don’t even know that you’ve deployed focus stacking; it’s a bit like in camera HDR;
- if you’re a wizard at calculating hyperfocal distance* and are able to assess depth of field in the viewfinder well, you may be able to get front to back in focus, especially if you use an app on your phone to help you;
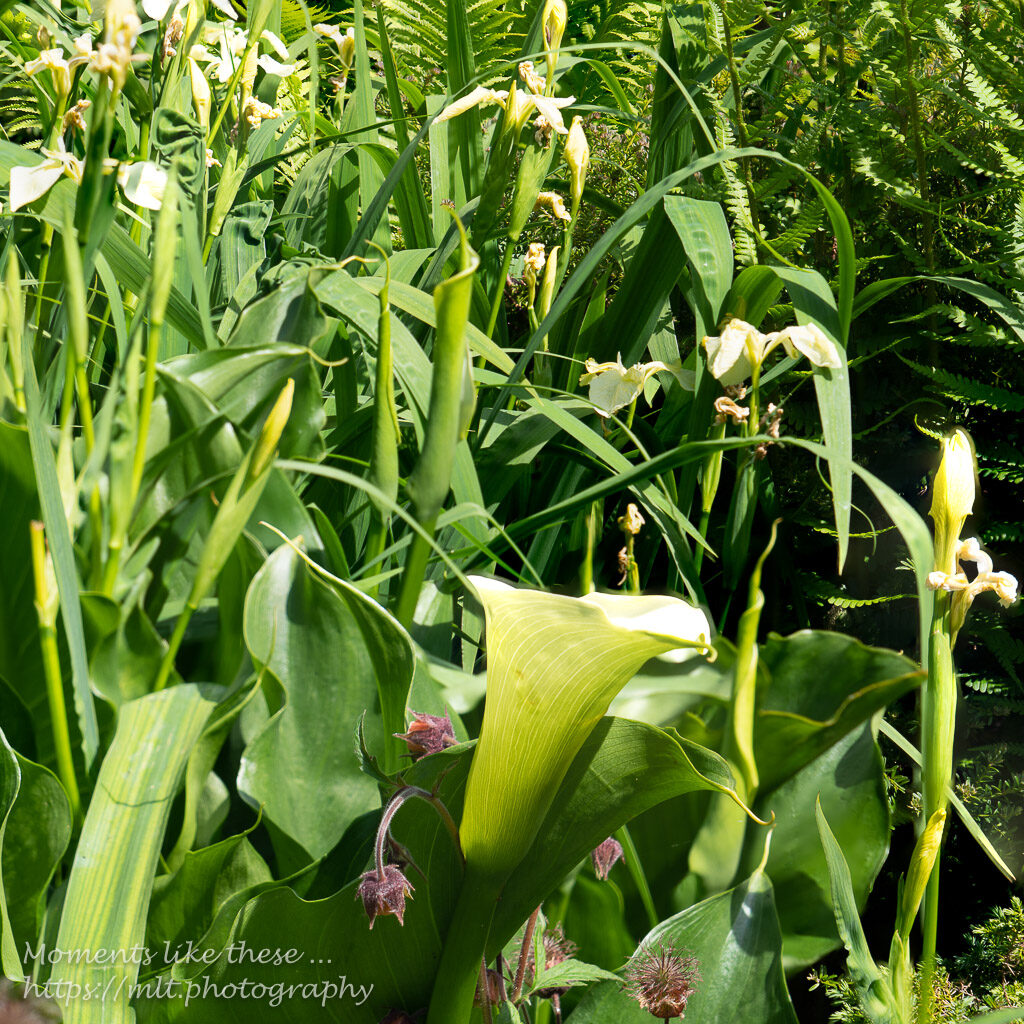
- you shouldn’t use focus stacking where the shot is busy – you’ll just never manage to capture every possible focus point and the result will be disappointing, eg …
But, if you feel like trying it using software in my case Adobe Lightroom Classic + Photoshop) then this what you need to do …
- first you need to consider using a tripod; it is possible without, but you’ll find it difficult without one;
- you need to put your camera into manual mode so that the ISO, aperture and shutter speed settings don’t change between shots;
- you possibly need to remember to switch off image stabilisation in the camera (or lens), but this is not thought to be as important as it was when the first digital cameras were introduced;
- you almost certainly need to either use a remote control to take the shot, or to change the shutter to have a delay of say 2secs – this will remove nearly all possibilities for camera shake save the need to need to weigh your tripod down in a strong wind;
- take your shots – as few as two, as many as ??? (your choice);
- import the photos into Lightroom; select one and do any edits you want to do to it that will be applied to the others, ie white balance, spot removal, global edits for texture, clarity, shadows and highlights and then select the other shots in the sequence and synchronise them to apply the changes to all the shots;
- select the ones you want to stack and then choose Photo > Edit > Open as Layers in Photoshop from the menu bar;
- Photoshop will automatically open and then select the layers (the images) in the Layers panel;
- choose Edit > Auto-Align Layers from the menu bar, making sure that you’ve selected the Auto checkbox in the dialog before pressing OK;
- then select all layers in the group, and choose Edit > Auto-Blend Layers from the menu bar making sure you’ve selected Stack Images in the dialog box and checked the other two checkboxes as well;
- now you have a new focus-stacked image which you should saveback to Lightroom which you can do by choosing Edit > Save As … from the menu bar.
In a little while your focus-stacked image will appear back in your Lightroom Catalog. You can then do further edits on the DNG file that you have created.
Notes:
*The hyperfocal distance is the point which is the optimal focus point which ensures all points in between foreground and background are in focus. This varies with the camera and lens, and most importantly the aperture you choose. You can install a simple app on your phone such as Simple DoF (a depth of field calculator), or the more complicated Photographer’s Friend to help you choose the point you’re going to focus on.
This is a link to a very good article which accompanies an excellent video which covers the whole spectrum of focus stacking in landscape photography.
A nice guide to using Lightroom and Photoshop together with exposure blending in focus stacking.