I’ve dabbled with HDR over the years, but it’s never become as fundamental a part of my photography as perhaps it should. So … spurred on by a U3A project, I’m going to share with you three photos that got the High Dynamic Range treatment in Lightroom.
But before we get there you need to look at the approach you need to take to get the image. You need a tripod because you need to be sure the image you are taking is not shifting (although anti-ghosting can be applied for hand-held attempts); then you need a shutter delay release, either from a remote, or by setting a delay on the camera – you don’t want to cause any camera shudder when you press the shutter; that of course is true for any tripod work, as is the need to switch Image Stabilisation off (although there is debate about the necessity of doing that, but we’ll park that one for now). So then you set your camera to take at least three images – one underexposed, one correct exposure as sensed by the camera, and one overexposed – you can do this using bracketing. Then you focus on your subject; if you’re using auto-focus, it’s a good idea after achieving focus, to switch the camera into manual focus mode, doing that will ensure the camera doesn’t try and auto-focus between shots.
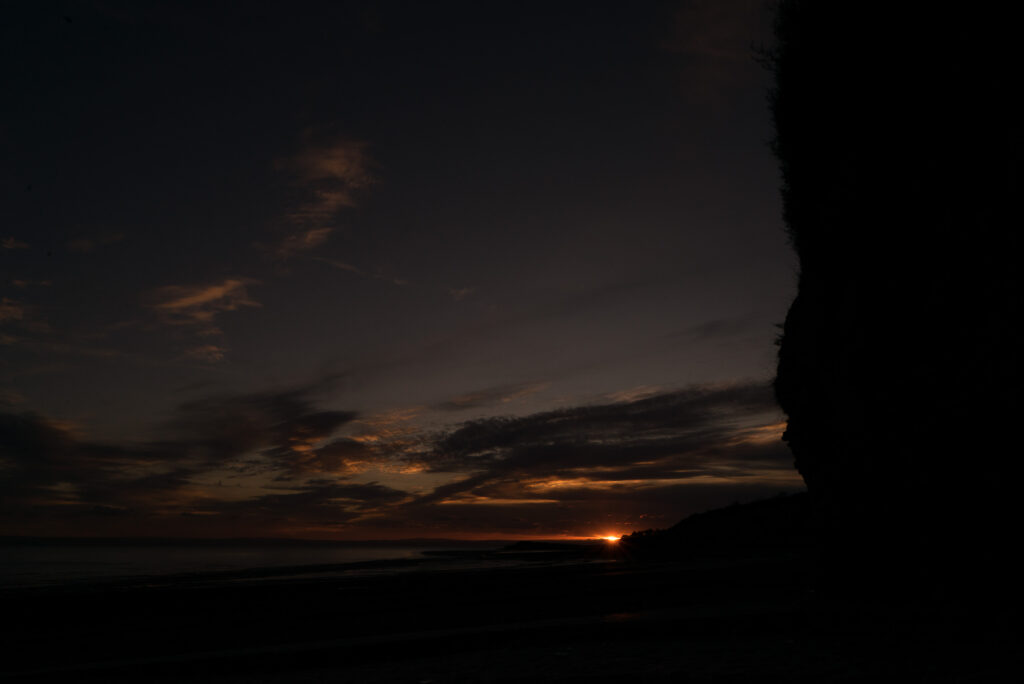
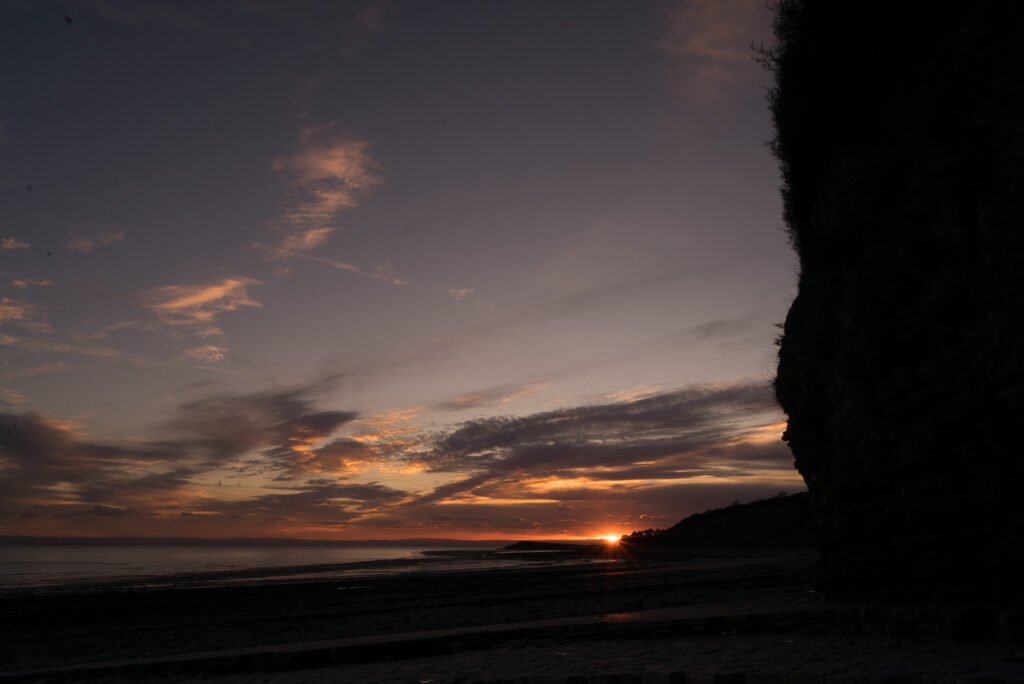
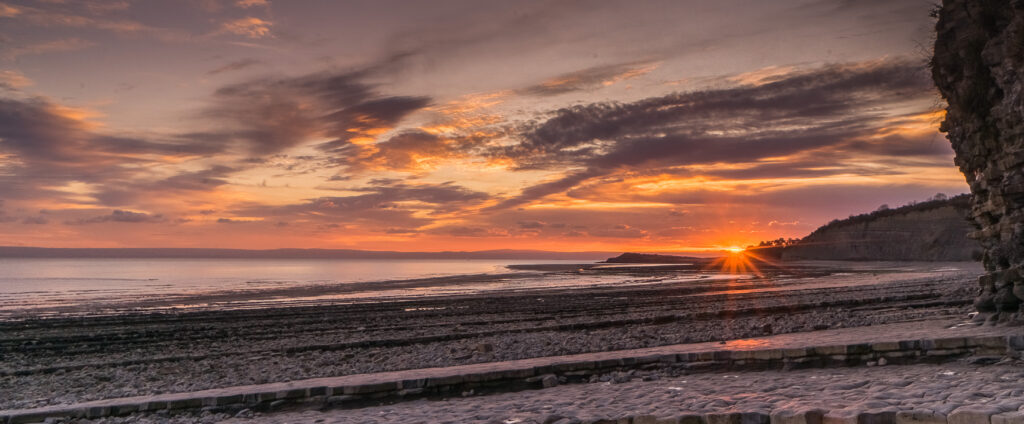
So for my first shot, a sunset at Lavernock Point – cycle through the shots with the final DNG file being edited in Lightroom and changed into letterbox format …

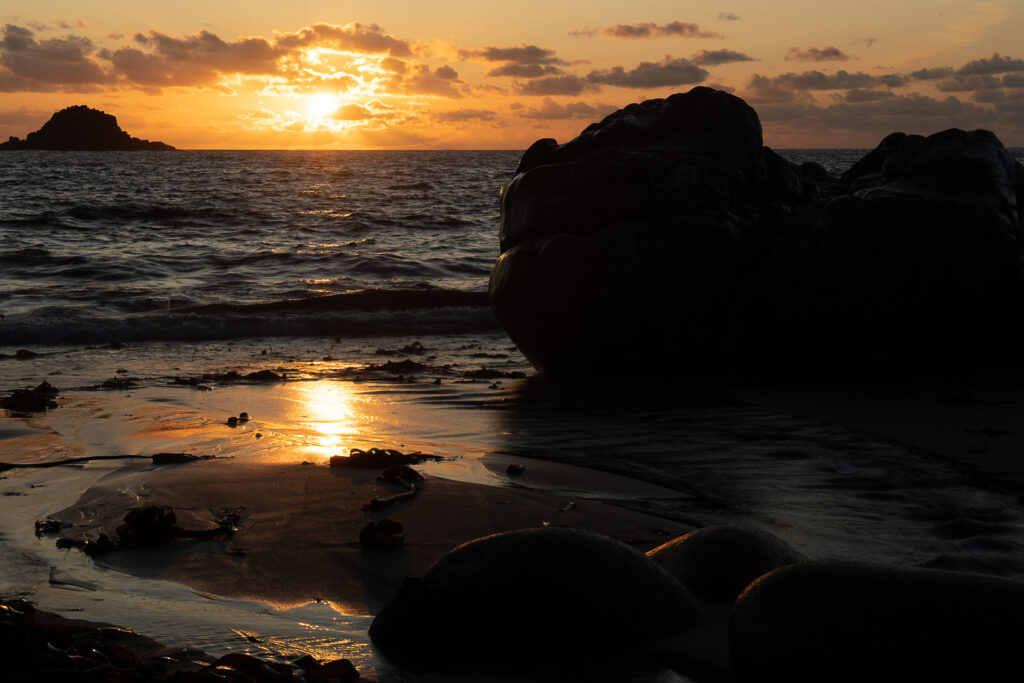
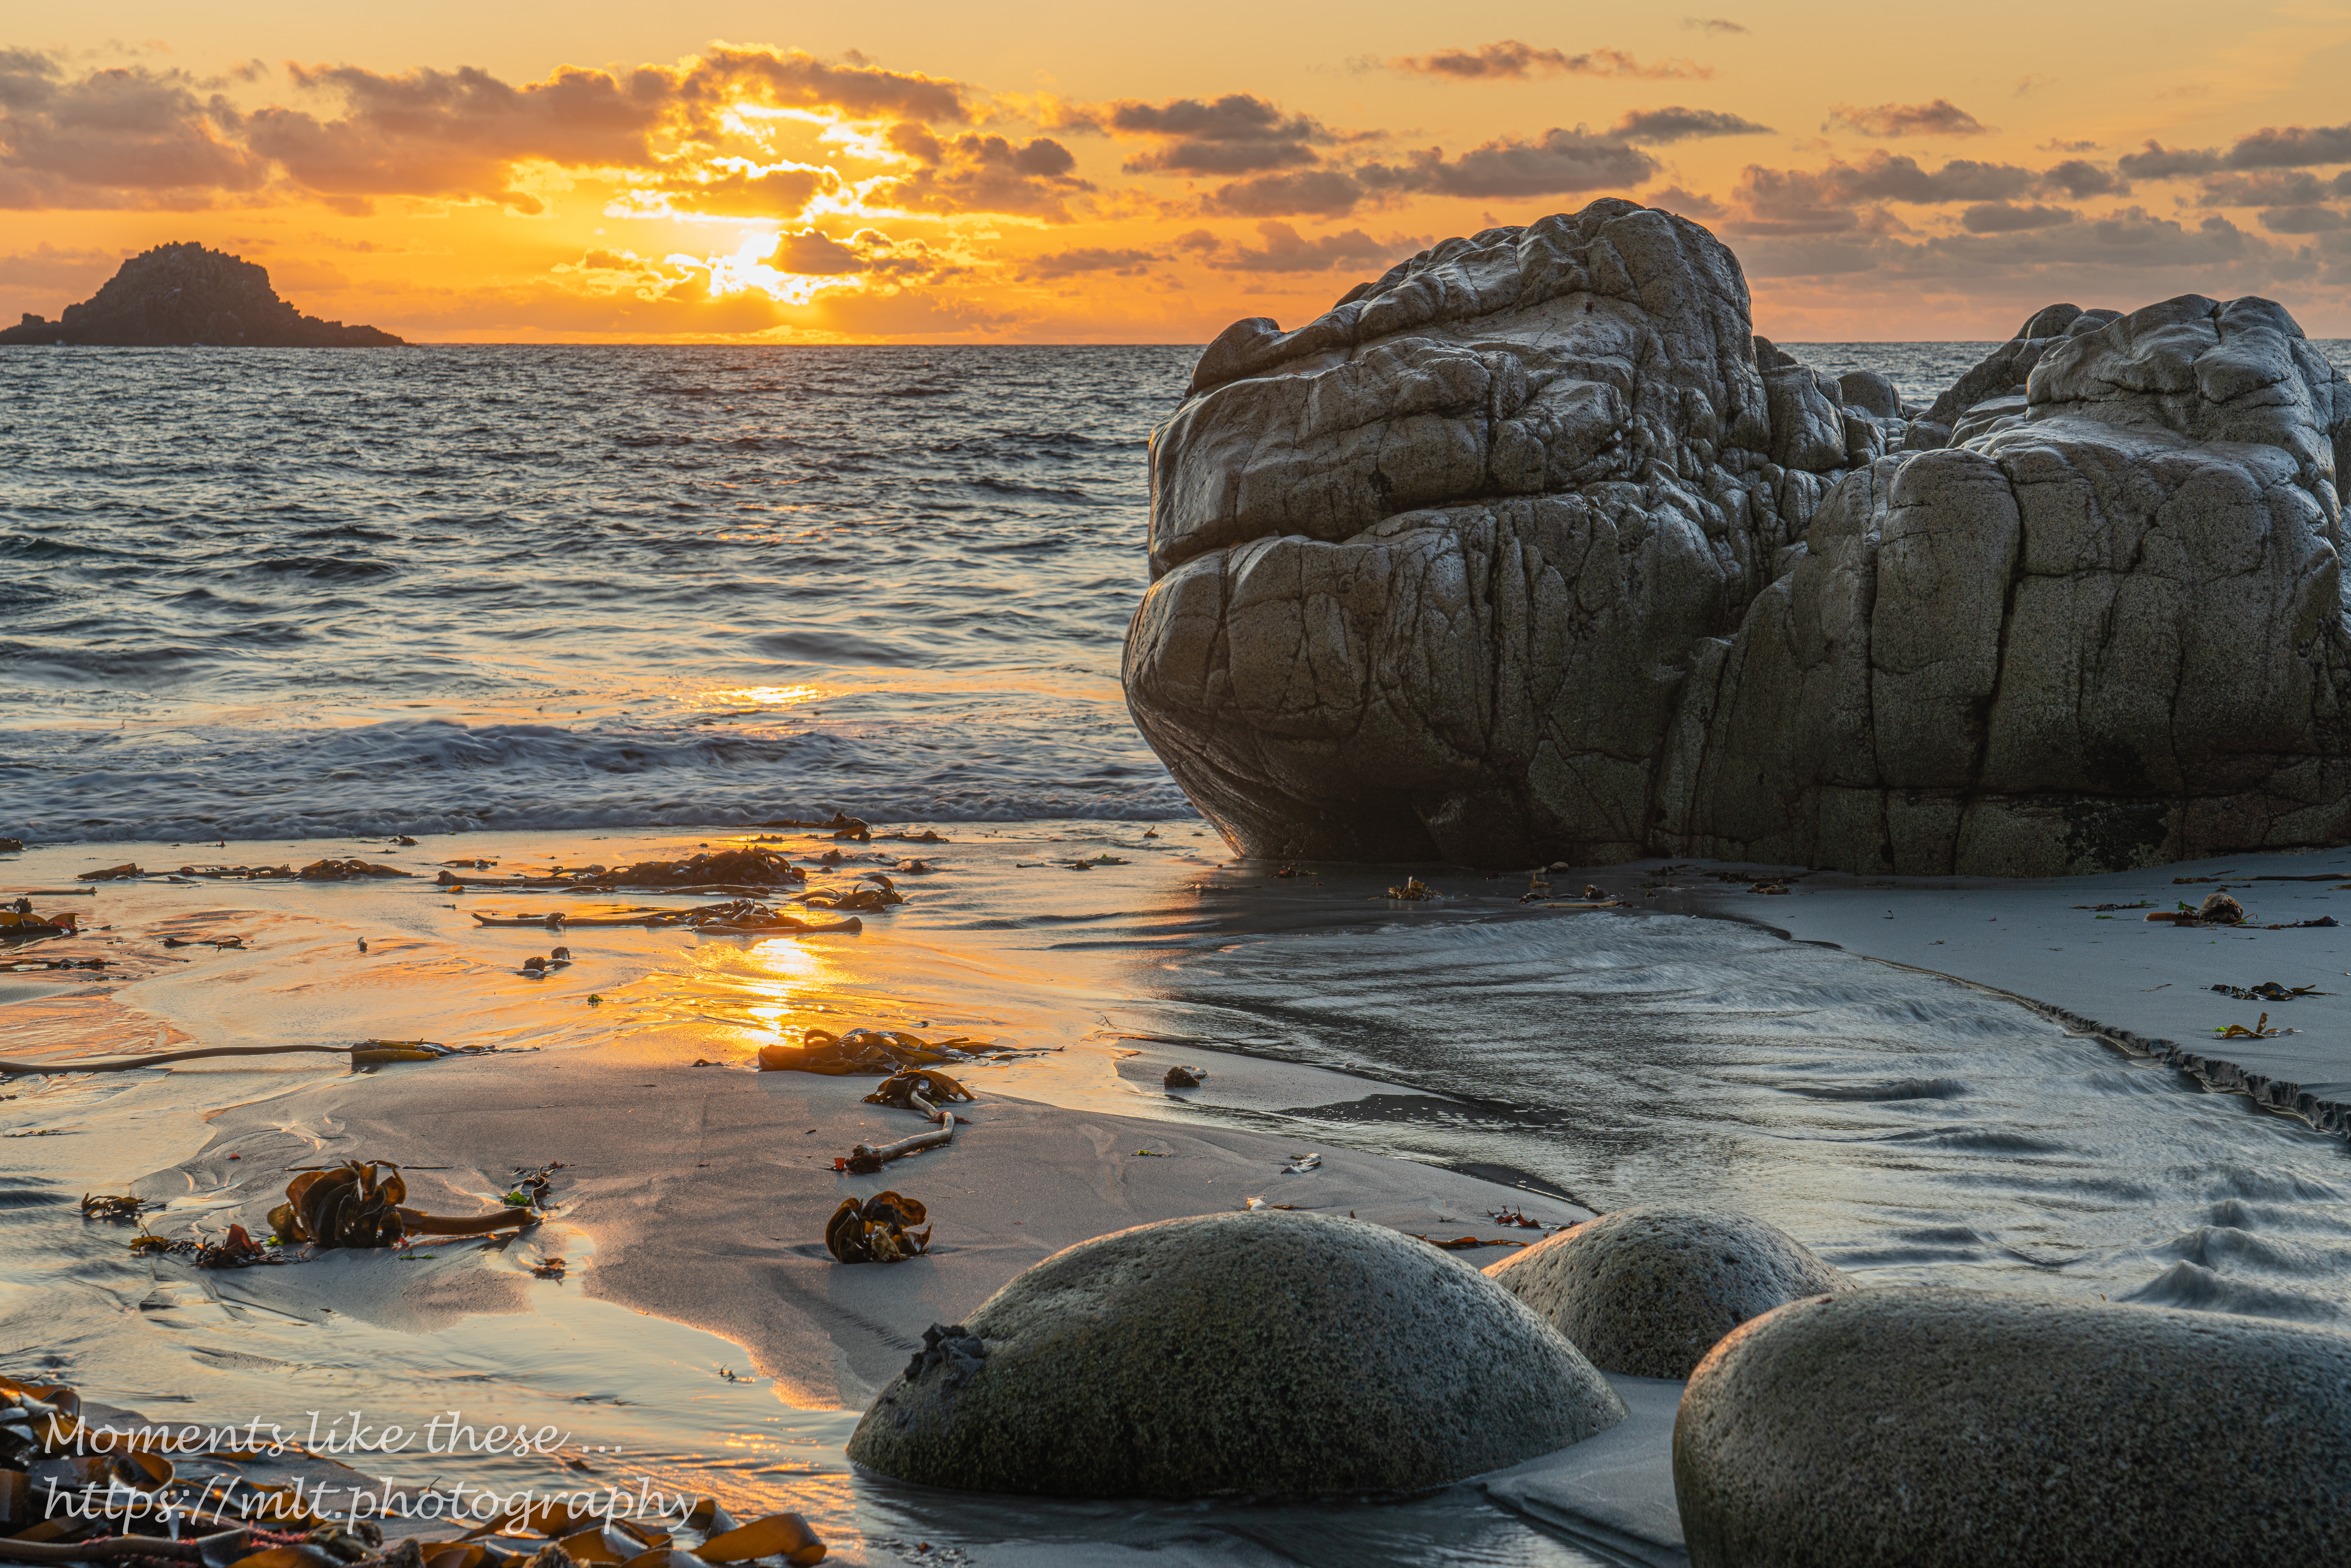
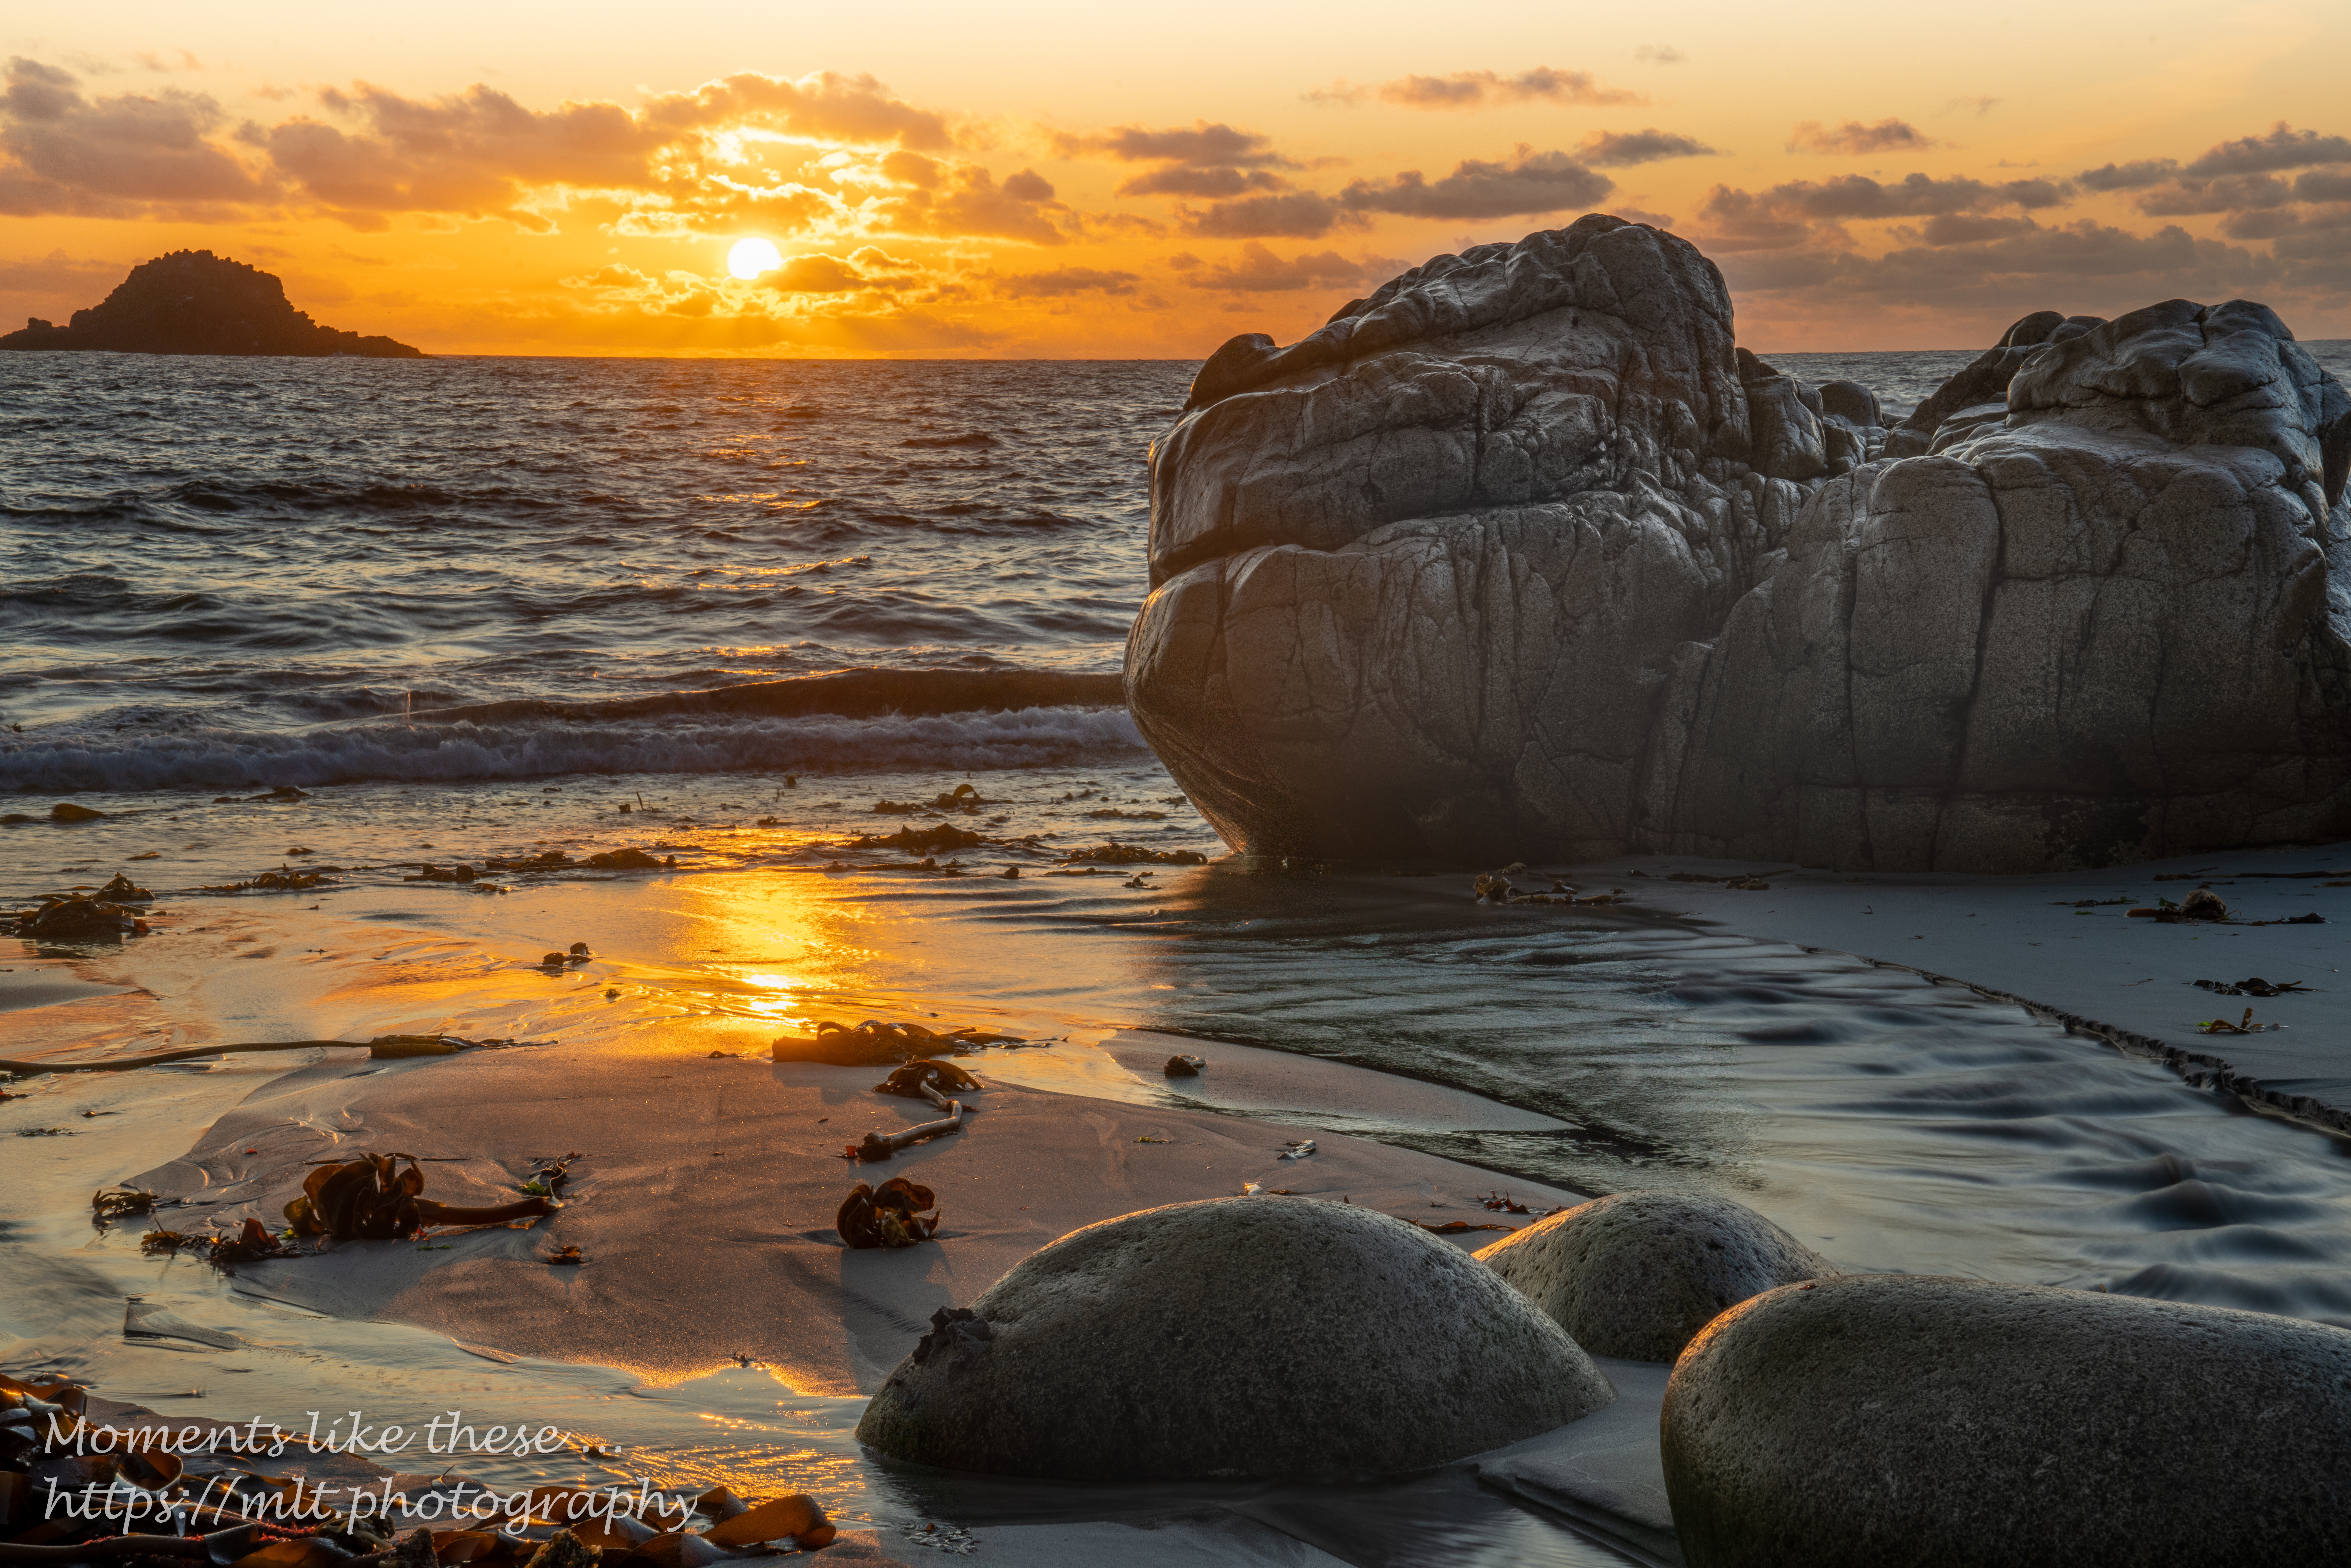
My second shot is again sunset this time in Cornwall – the Cot Valley …
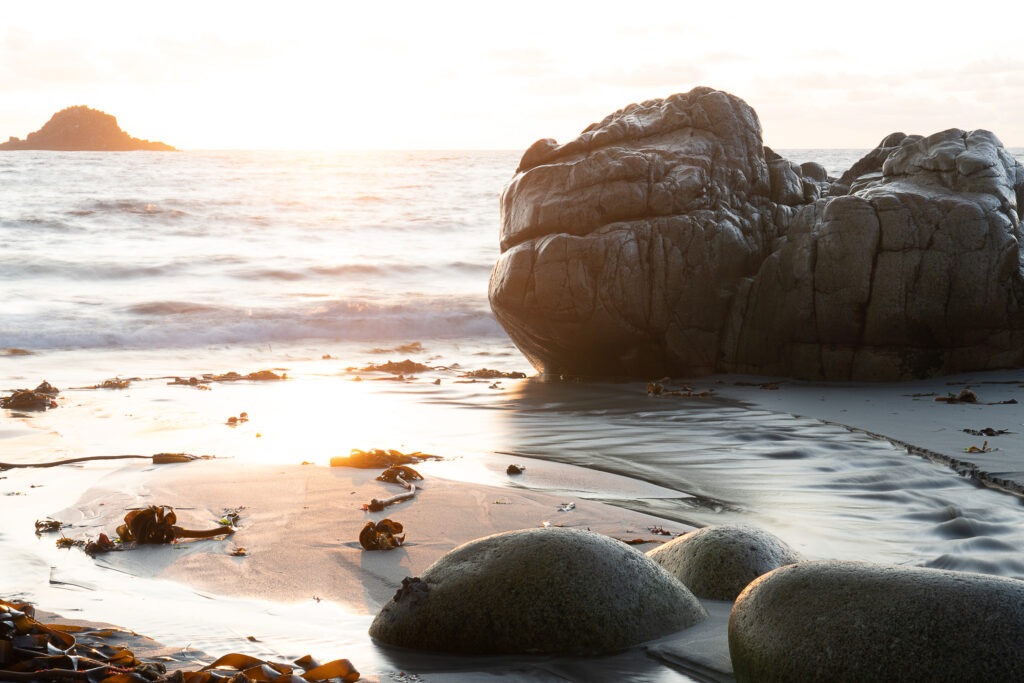
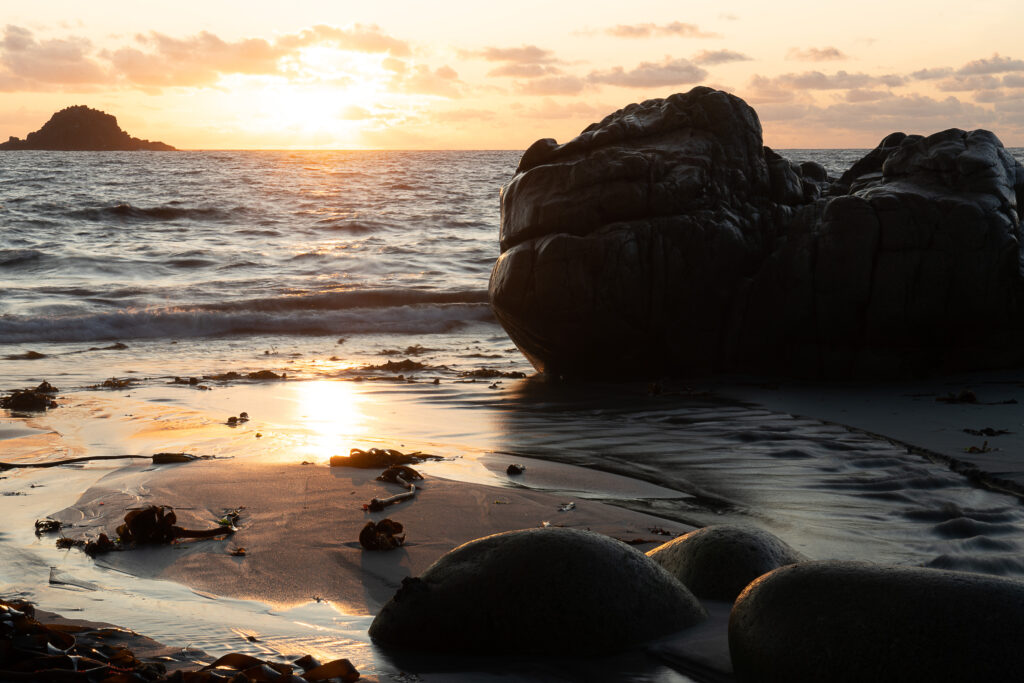
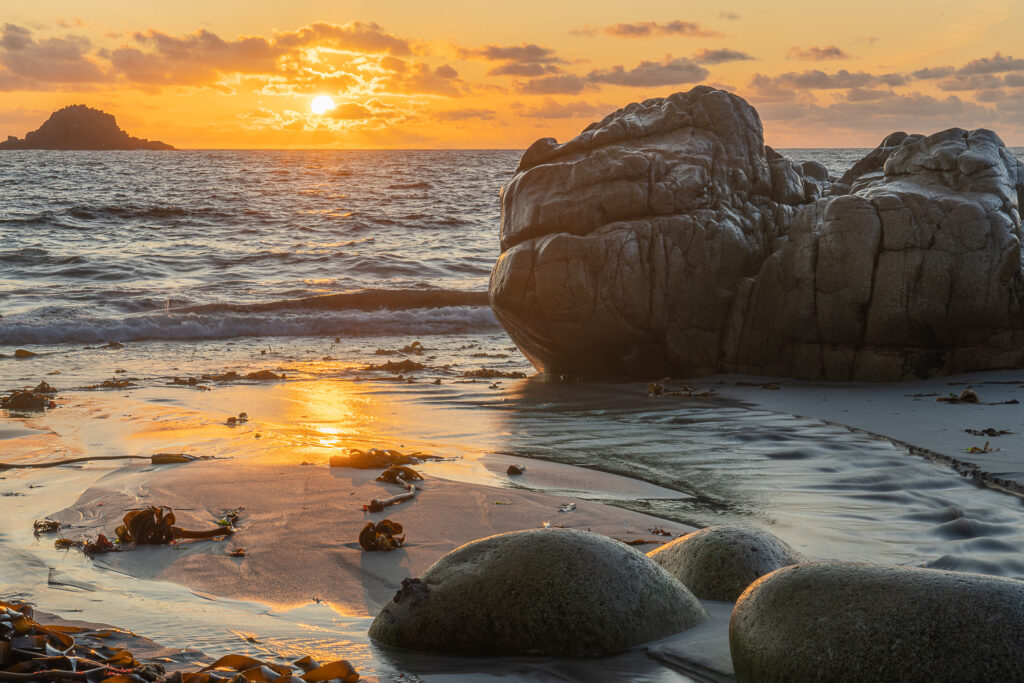
For this one, I’m also adding a re-worked image of the final HDR composite which I did recently which I think is an improvement. It uses local adjustments in Lightroom, rather than the global adjustments used in the sequence above. So in the sequence below, I’m including an image taken not using the HDR approach first, then the first edit (from the above sequence), and then my re-worked image using local adjustments. I hope you agree with me, the last one is the best …

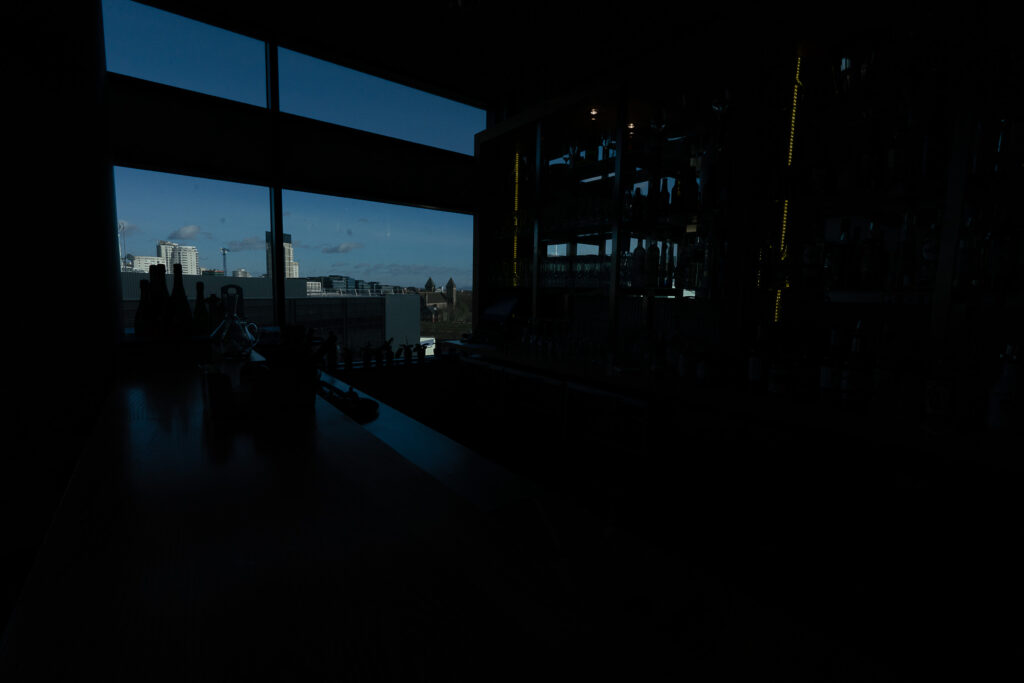
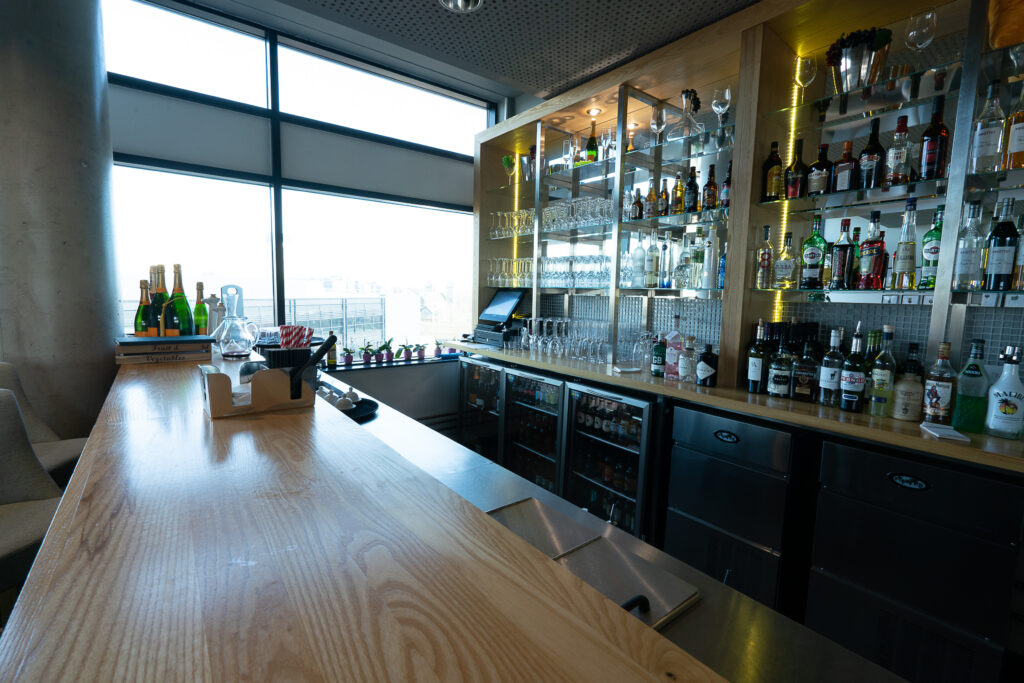
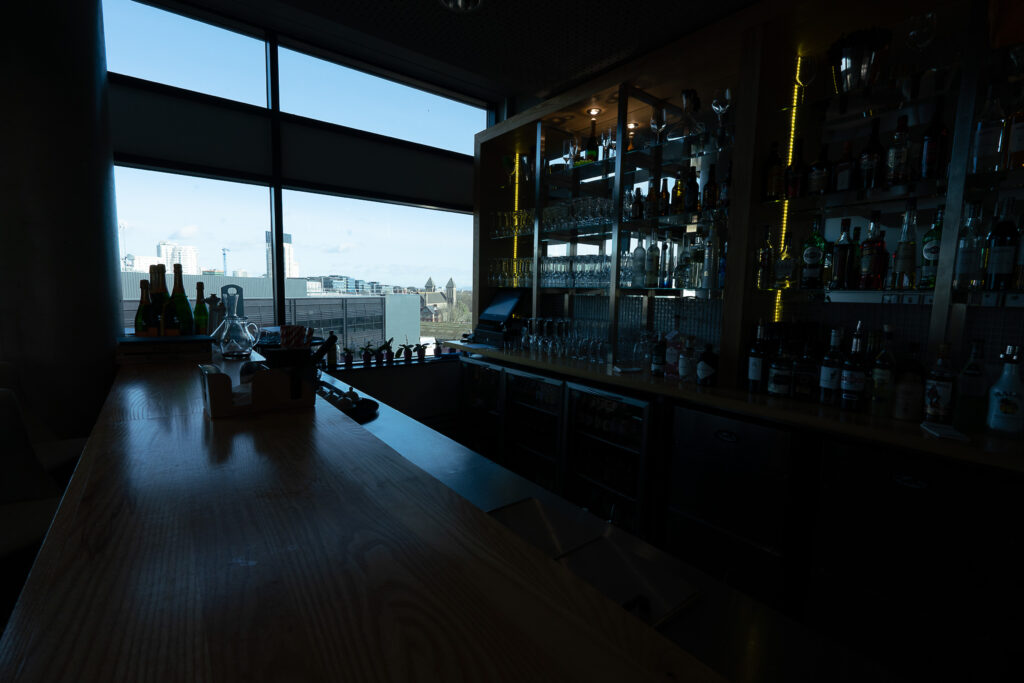
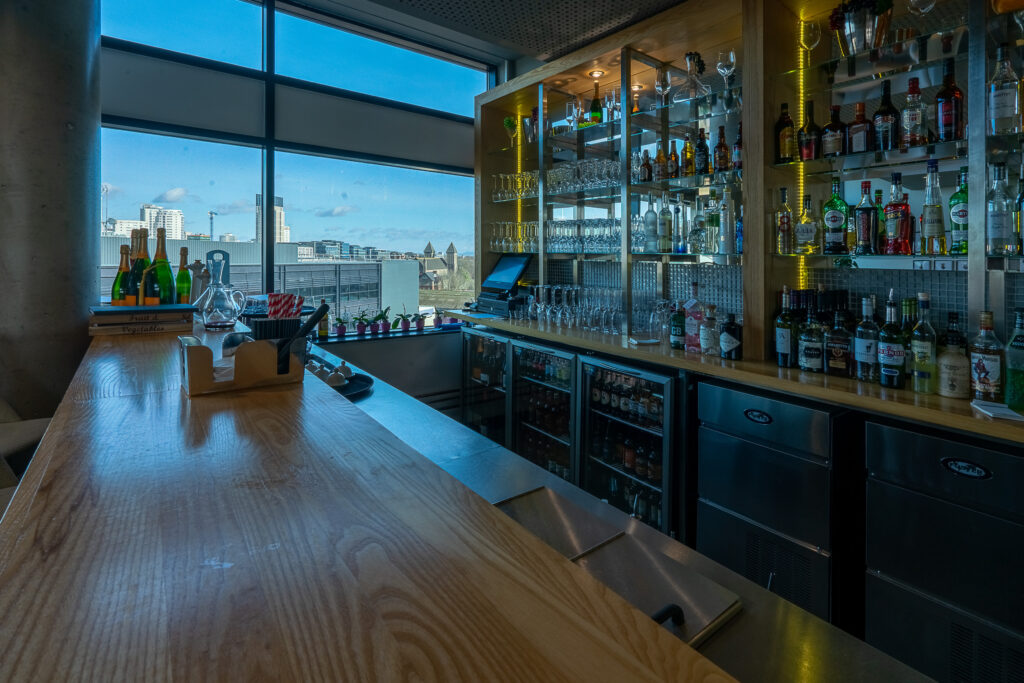
Finally, an example of where HDR came from – architectural photography. It illustrates how you can get a good exposure for the outside view of a landscape from inside an otherwise relatively dark room – no flash being used. The guided transformation makes a difference too …
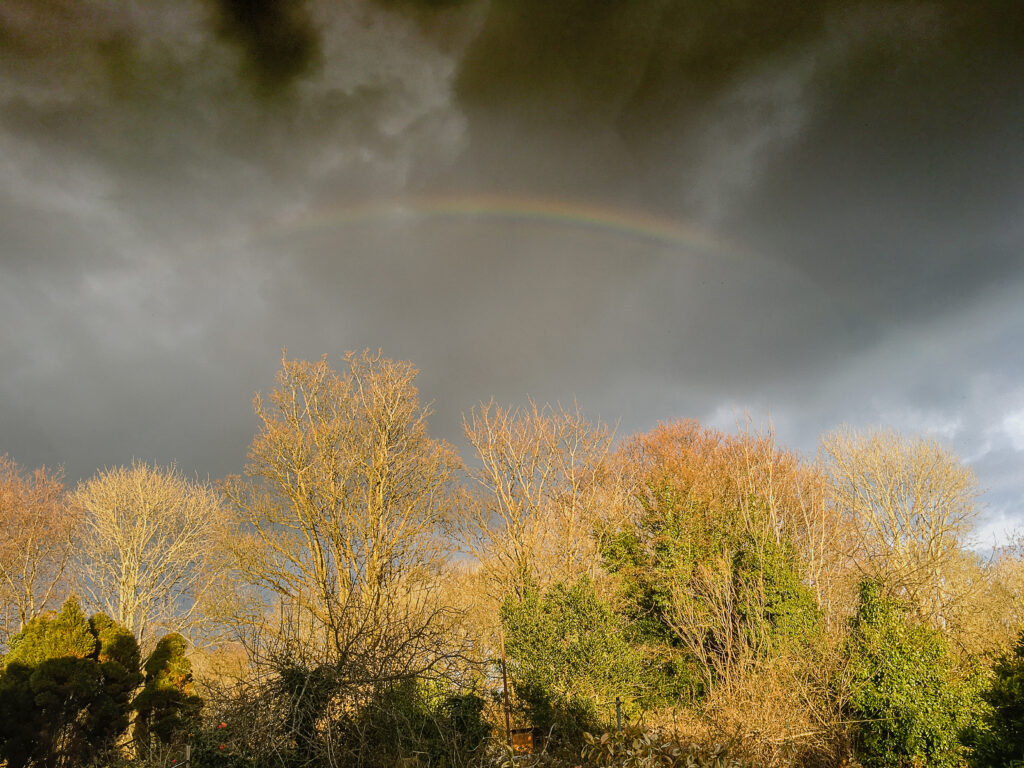
And the featured image? One taken with the HDR-setting on my iPhone 6s; it shows what can be done without all the Lightroom processing, when you haven’t the time to set the tripod up and work out the settings you need to use.
If anyone reading this blog is daunted by your initial advice to use a tripod and shutter delay release, followed by editing in Lightroom, David, I suggest they take heart from your final admission that you can get good results hand-holding a phone, or a camera, set to HDR.
My Lumix has another option for reducing the dynamic range in a scene, which is the Highlight Shadow setting. This enables me to tone down the highlights and/or boost the shadows by varying amounts, without bracketing an exposure. My editing software, Paint Shop Pro, has similar options of course, which I find useful, but if by that stage the highlights are overexposed, for instance, it is too late to get any detail from JPEGS.
Interesting Jim. Yes, you can get workable outcomes from handheld – especially if you auto-align, which you may need to go into Photoshop to blend layers. However, the best results can only be obtained by using a tripod, and by bracketing exposure. The HDR setting in a camera can only guess what you might want to achieve based on the algorithm it has been programmed with. As such HDR in camera is just an “effect”. Without wishing to re-open our JPEG debate, I would contend that trying to do HDR in any software package using JPEG images is not going to result in anything better than you could achieve with the HDR effect in camera.
Cheek! You’ve insulted my Lumix camera, David. Here is an extract from the instructions:
“The camera can combine 3 still pictures taken at different exposures into a single properly exposed picture with rich gradation.”
It has an Auto Align setting, which they recommend turning off when using a tripod.
Suitably admonished, and as it’s all in-camera my JPEG comment won’t apply to your Lumix either.
Good post David – and some great results!