
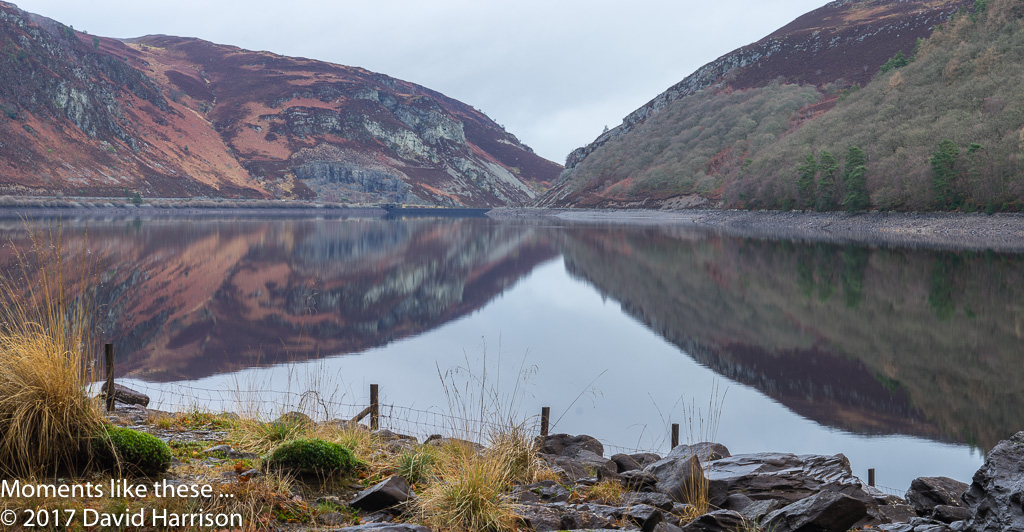
After processing in Lightroom …
… and before processing in Lightroom.
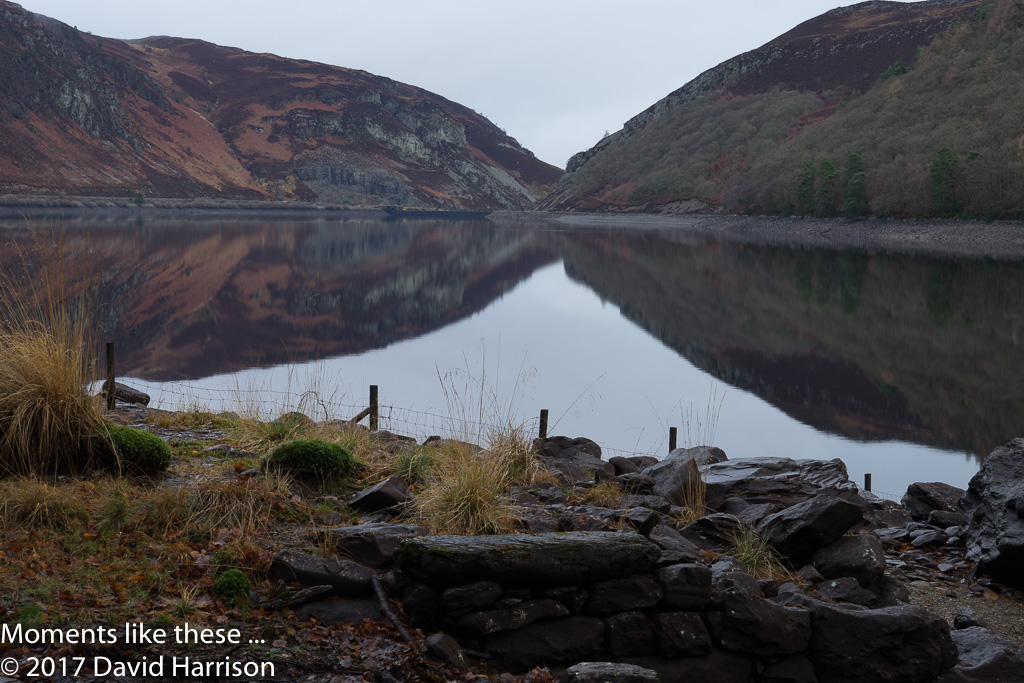
The EXIF information about the shot above as taken from the Camera
ISO 100 1/5sec at f/13 with a Sony A7r and FE 24-70mm F4 OSS lens @ 70mm
The post-processing I applied in Lightroom.
- The first thing I did was rather unusual for me, after I’d tried using the de-haze filter and decided against it, was to apply Auto Tone. This lifted the colours a little and allowed me to see what was there!
- I then adjusted the Exposure a little (-30) to again give me more depth of colour to work with. This is always best when you shoot in RAW (rather than JPEG) which is what I do all the time.
- I then did the Crop to get rid of some of the foreground that I felt was not adding much to the picture.
- The next three changes are what I would almost call my “standard changes”. The values differ but are nearly always close to these values. Vibrance +10; Saturation +18; Clarity +15. These just sharpen the image up a bit.
- Having got the definition in the image I wanted, I then applied a massive “wipe-out” of Highlights (-100) which allowed the textures to come through and got rid of any wishy-washy tones in the image.
- Then after prompting from my son Peter, I applied Auto in the Straighten and Crop tool to slightly straighten the image. So, it was Peter’s prompting that caused me to write this post and also create this blog.
What do you think?